
Chapters
How do you get started testing?
It can be pretty difficult to work out what exactly you should be testing when it comes to writing tests in React. Particularly when half of the examples in articles online seem to be doing it "the old way" (testing that components correctly update state after some function runs), rather than testing functionality (testing that users can enter data, and submit a form).
Typically though, when I start writing tests for a new project, I start testing entire screens where possible (assuming I'm working with a well-tested component library), meaning I start with integration tests first.
Let's integration test a React form!
We're going to be testing a form almost every public web app you're going to build has: a Login form. It's probably one of the most important parts of your app (in terms of business value), so let's be confident it actually works!

Setup
We're going to be using create-react-app, because it comes bundled with @testing-library/react (also known as React Testing Library). I'm also using react-hook-form to build our form, because it's the fastest way I know to build a form in React apps.
-
Clone this repo
-
In your terminal, run:
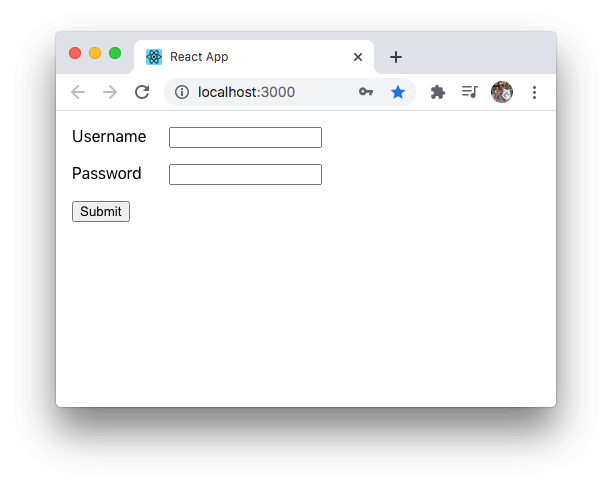
yarn
# then
yarn start
You should see something like this:
-
At this point, if you ran
yarn test, you would see the following:
 PASS  src/pages/Login.test.js
  ✓ integration test (177ms)

Test Suites: 1 passed, 1 total
Tests:       1 passed, 1 total
Snapshots:   0 total
Time:        4.134s
Ran all test suites.

Watch Usage: Press w to show more.
So how do we get here?
First off, here's the code from our integration test:
// render and screen let us find what was rendered
import { render, screen } from '@testing-library/react';
// userEvent lets us type into our inputs, and click on buttons
import userEvent from '@testing-library/user-event';
// Login is the page we're integration testing
import Login from './Login';

// Test is async to enable us to use `findByText()`
// once the form submits
test('integration test', async () => {
  const USER = 'some-username';
  const PASS = 'some-pass';
  const user = userEvent.setup();

  render(<Login />);

  // using regex in getBy and findBy
  // functions, so it's case insensitive
  const userInput = screen.getByLabelText(/username/i);
  await user.type(userInput, USER);

  const passwordInput = screen.getByLabelText(/password/i);
  await user.type(passwordInput, PASS);

  const submitButton = screen.getByText(/submit/i);
  await user.click(submitButton);
  // We use `findByText()` after performing an action
  // that may be asynchronous (like filling out a form).
  //
  // findByText returns a Promise, letting us await
  // until it finds the text it's looking for before continuing
  expect(await screen.findByText(/your username/i)).toBeInTheDocument();
  expect(await screen.findByText(/your password/i)).toBeInTheDocument();
});
The above example likely looks complicated if you're new to integration testing, but we've taken the steps a user takes when logging in, and turned it into a test:
- Load the Login screen
- Click on the username input, and type the username
- Click on the password input, and type the password
- Click the Submit button
- Wait around for some sign that the Login worked
We've built a test that can type into our TextField components, click on our Button component, and trigger the Form component's onSubmit function, without ever referring to implementation details!
If you then decided to use a completely different component library (like say if your team decided to build their own design system), your test wouldn't need updating as it doesn't care what you used to build it!
If you're confused about findByText vs getByText, don't worry - that's normal. I typically have to look this up each time I use them, but findBy functions are for use after async actions (like clicking the Submit button), and getBy functions are for general use.
React Testing Library also has a cheatsheet with tips to help you check which function to use.
There was a lot going on in that example...
That repo used quite a few libraries:
- Jest
- React Testing Library
- React Hook Form
It also introduced you to testing functionality instead of implementation details.
This chapter covered the "how" of testing React, the next chapter covers the "what": Chapter 2: What are all the React testing tools and how do you use them?
Want to become a better React developer?
I send a single email every two weeks with an article like this one, to help you be a better React developer.
Lots of developers like them, and I'd love to hear what you think as well. You can always unsubscribe.
I'll even send you a free PDF copy of the book you're reading, The Beginner's Guide to React Testing, to start with.
Join 947 React developers that have signed up so far. See my privacy policy.